A tileset is like a set of small pictures, such as floors, walls, or trees, that you can use to build a game world. It’s like using different puzzle pieces to create a bigger picture in your game!
Go to mapeditor.org and download Tiled for free.
Install the program on your computer.
You need a tileset to design your map. You can find tilesets from websites like:
Search example: "2d tileset"
You can download the Tileset we are using in this tutorial here: Tileset (by: various artists)
Make sure to check the license of the tileset and give credit to the artist!
Open Tiled.
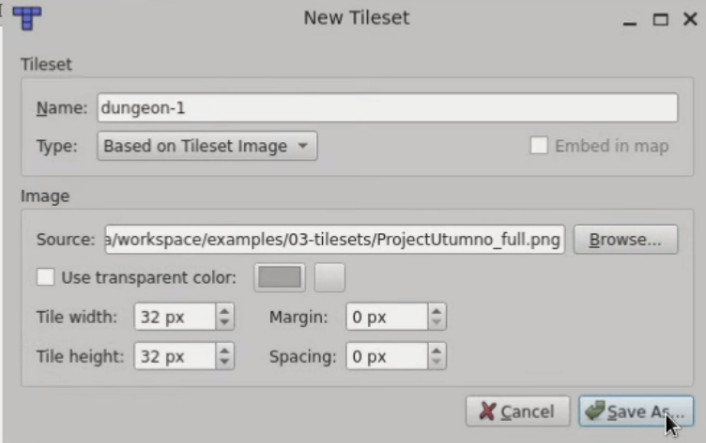
Go to File > New > New Tileset.

Name your tileset.
Select the tileset file you downloaded earlier.
For this tutorial, we’ll use 32x32 pixels as the tiles' size.
Save your tileset.
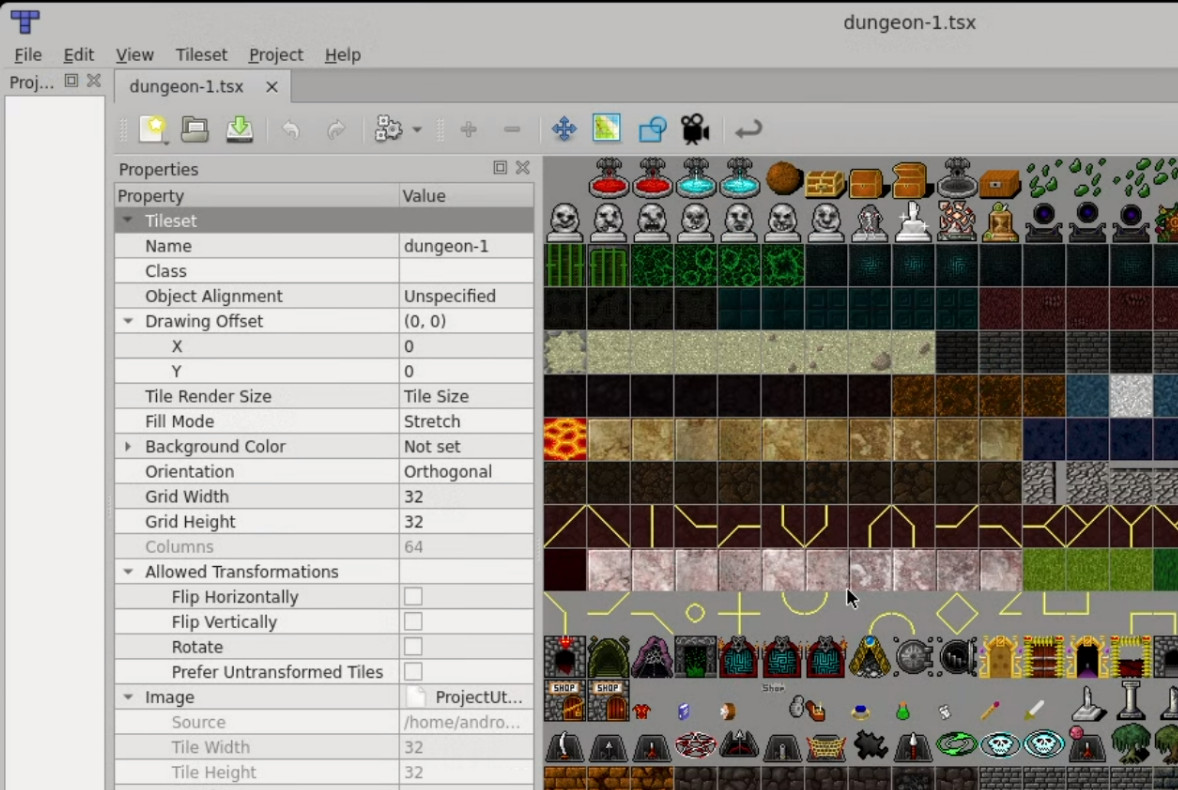
Now you’ll see your tileset appear on the screen
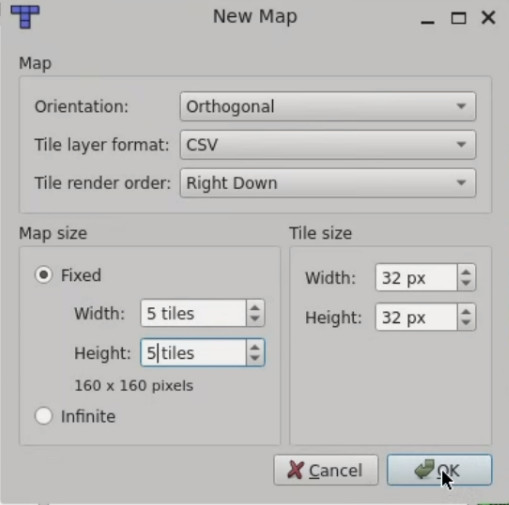
In Tiled, Go to File > New > New Map.

For this tutorial, let’s make a small map that’s 5x5 tiles.
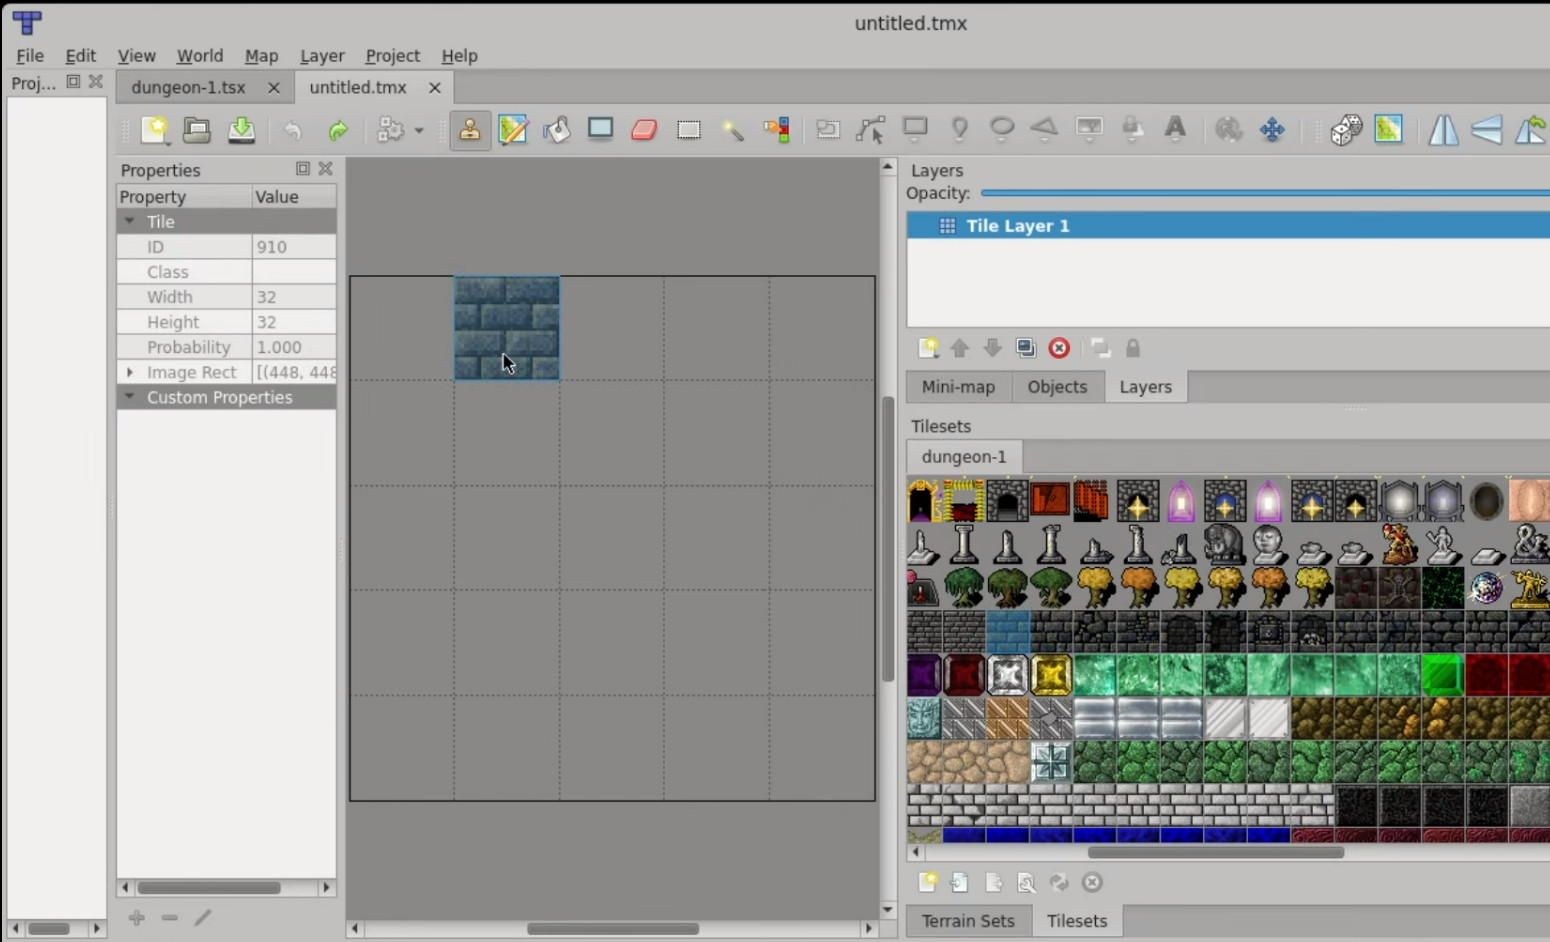
You’ll see a blank grid in the center of your screen where we’ll place tiles: It is the Map Grid.
On the bottom right, you’ll find the tileset you just created.
To add tiles to your map, click on the tile from the tileset, then click on the grid where you want to place it.
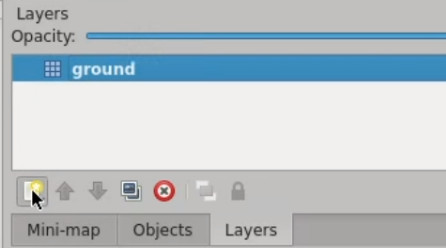
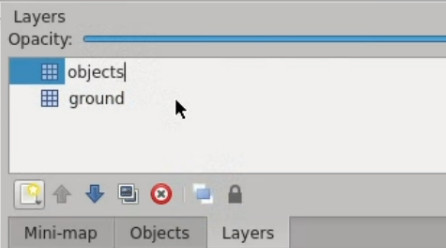
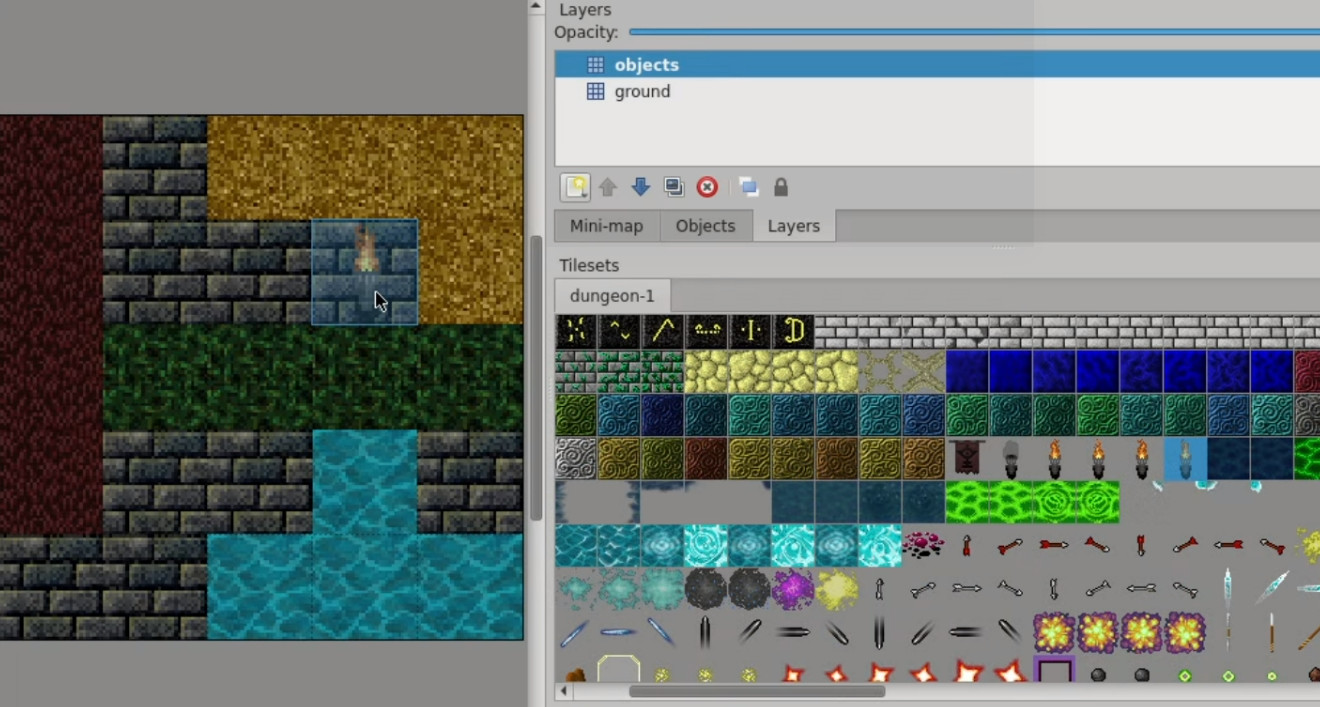
Tiled has a feature called layers, which lets you stack tiles on top of each other for more detail. For example:
You can add a wall tile in one layer and place a candle on top of it in another layer.
When loading the map in our video game, we don't want to load hundreds of tiles we are not going to use. This is the reason why we are going to create a smaller tileset containing only the tiles we need for our game.
For our map, we only used Walls, Shallow water, Green carpet floor, Sand and Red floor.
Create a new map that is 1x5 tiles.

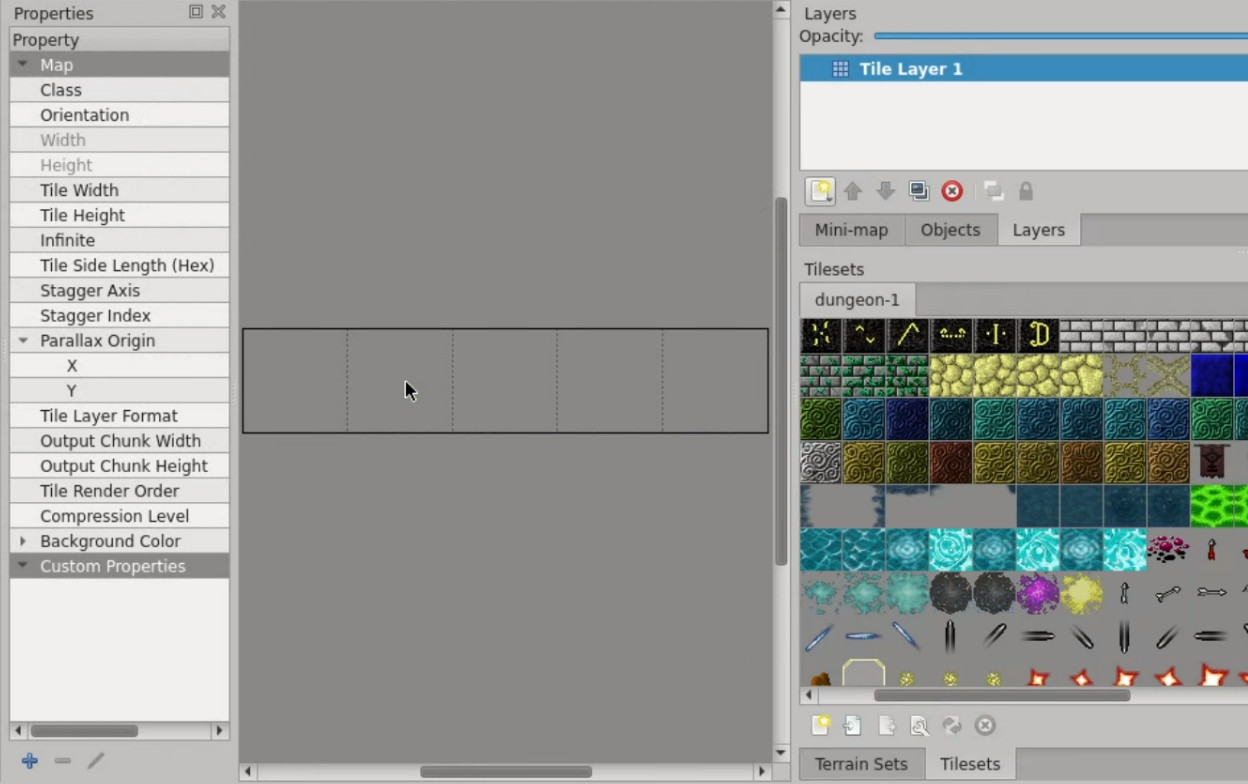
Stamp the following five tiles from your existing tileset:
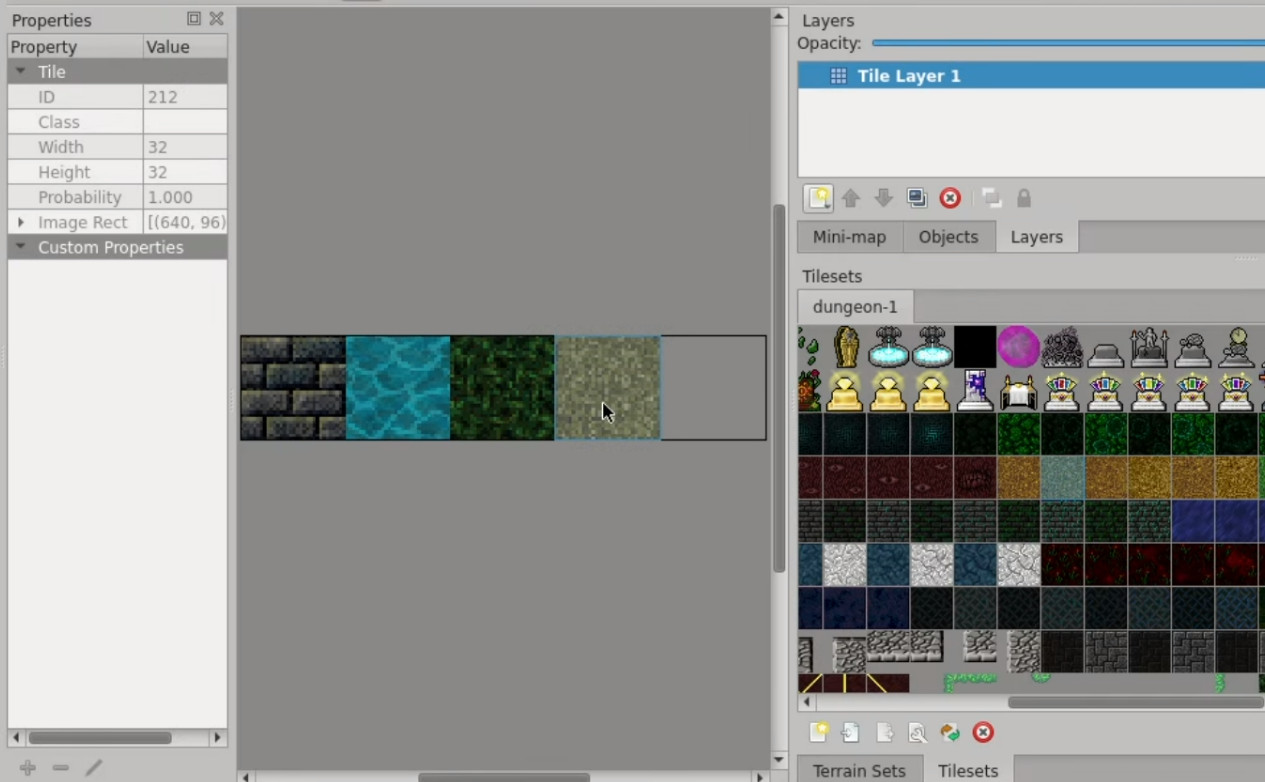
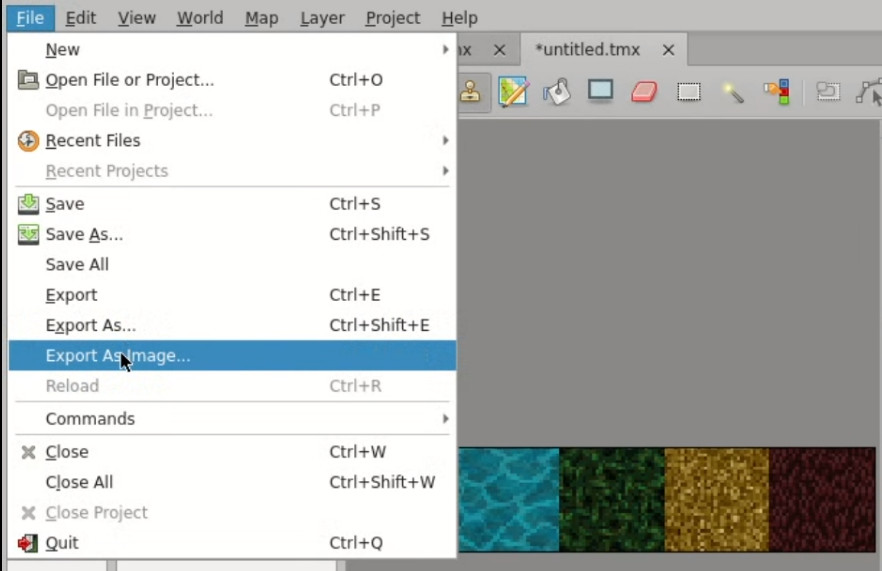
Save this tileset and export it as a PNG file. This smaller, custom tileset will be used in our game.
You can download the tileset just created here.
